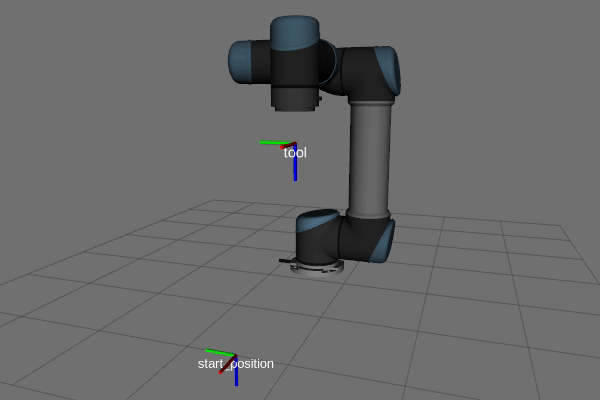
Getting started
The usual way to use pitasc is to start an executable, called the file_reader, that loads a pitasc application file and immediately executes it. pitasc applications are defined in a custom file format based on XML syntax, as defined in XXX. Let’s start by running a simulated example.
Run an example
To run the examples included with pitasc, you need to open 2 terminals (if you did not enable the auto-activation of pitasc,
you need to execute source ~/pitasc/<VERSION>/setup.bash; if you configured the current version during installation,
you can run source ~/pitasc/current/setup.bash).
Terminal 1
You first need to start the simulator together with the visualization:
$ roslaunch pitasc_common bringup_examples.launch
Terminal 2
Then you can run an example application using the file_reader (find out about its usage by running pitasc_filereader -h.
Here, we will start the forces.xml example provided with the pitasc_common ROS package:
$ pitasc_filereader pitasc_common examples/beginner/forces.xml
The forces.xml example contains many of the most commonly used skills. Some of them are presented below.
The examples are shown using a simple kinematic simulator, called micro_simulator. The micro_simulator takes maximum acceleration
and velocities into account and forces are calculated during contact with the floor based on spring equations.
There are a lot more example applications in the pitasc_common ROS package. You can browse through the examples to get a feeling for how to define applications and how to use and parameterize skills.
Example skills
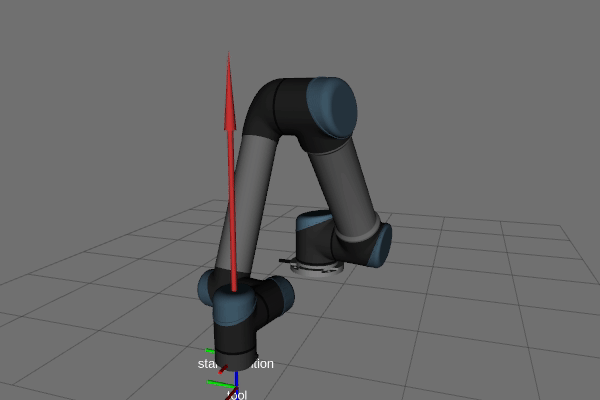
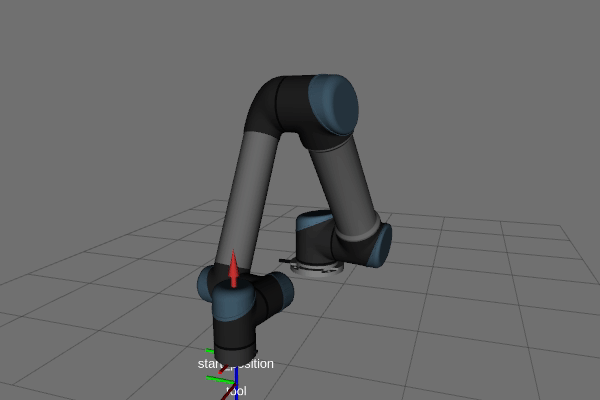
The forces.xml example includes many different skills. At first, the robot moves near the ground floor (the pre-position phase).
This is a typical step in real-world applications, too, as the subsequent force-based skills involve slower movements and thus take
more time. For this reason, force skills are usually activated on the last millimeters or centimeters.
skill_lin: LIN movement towards pre-position.
Next, contact with the surface is established using a guarded approach-skill. This involves a movement with constant velocity towards the ground, until a certain contact force is measured. The rationale behind this is that the exact surface position is not known. Instead, the contact force carries the information when the target is reached. In real-world situations, fixtures are never fabricated perfectly, so actual target positions differ from the theoretical ones.
skill_guarded_approach: Movement with constant velocity until contact is established (determined by the measured contact forces).
Once contact is established, a force controller is often used to ensure that the contact force lies within a certain range. This is often beneficient or even necessary for subsequent process steps.
skill_push/skill_push_settle: Force controller that ensures a certain contact force is established.
After these initial steps, the robot carries out the actual assembly operation. In the forces.xml example, this is a sliding
motion along the surface. This consists of a velocity-controlled motion along the surface. At the same time, a force controller
acting perpendicular to the surface ensures that the contact to the surface is neither lost nor too firm.
In many applications, the slide skill is aborted when another object is reached during the movement along the surface. In this example, the skill is simply aborted after a specific amount of time.
skill_slide: Movement along the surface with constant velocity, while a force controller ensures firm contact to the surface.